Shooting Film in the Studio – All About Strobes, Film, and Camera Settings
1 Share TweetIf to you shooting in a studio with strobe lights and an analogue camera sounds like something only a pro photographer can do, think twice! Shooting with film in a studio should not be intimidating and can be done by anyone.
Today, we are breaking down the process involved in studio photography with an analogue camera. We will go through all the setups, the technical elements, how to work with a flash, meter the exposure, and successfully take some pictures.
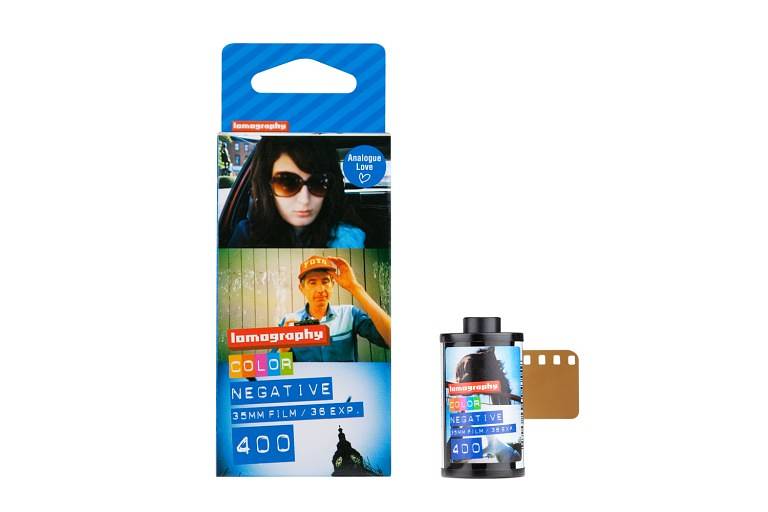
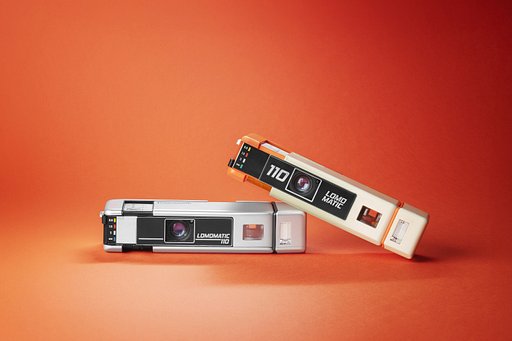
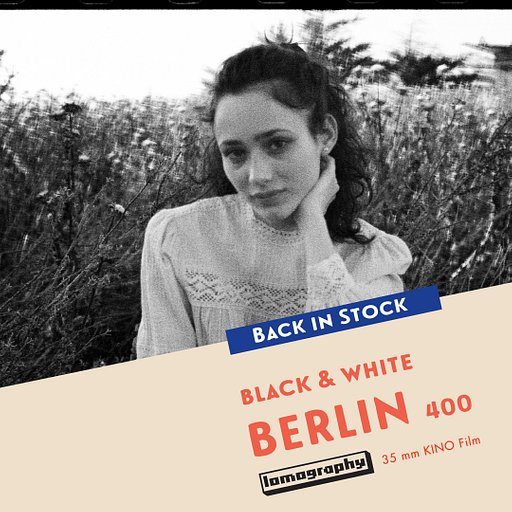
We have selected a roll of Lomography Color Negative 35 mm ISO 400. This film will have some versatility to control the light. The camera we are using is a Canon AE-1.
Camera Settings
You must know what your camera's flash maximum sync speed is. This is the shutter speed setting at which your camera can sync with your flash. After that, if you go higher, the curtains will be visible in your photos. With the Canon AE-1 it is 1/60 of a second.
One helpful accessory is a cable release. This cord is screwed onto the shutter button, and it will press the button when you want to take some long exposures.
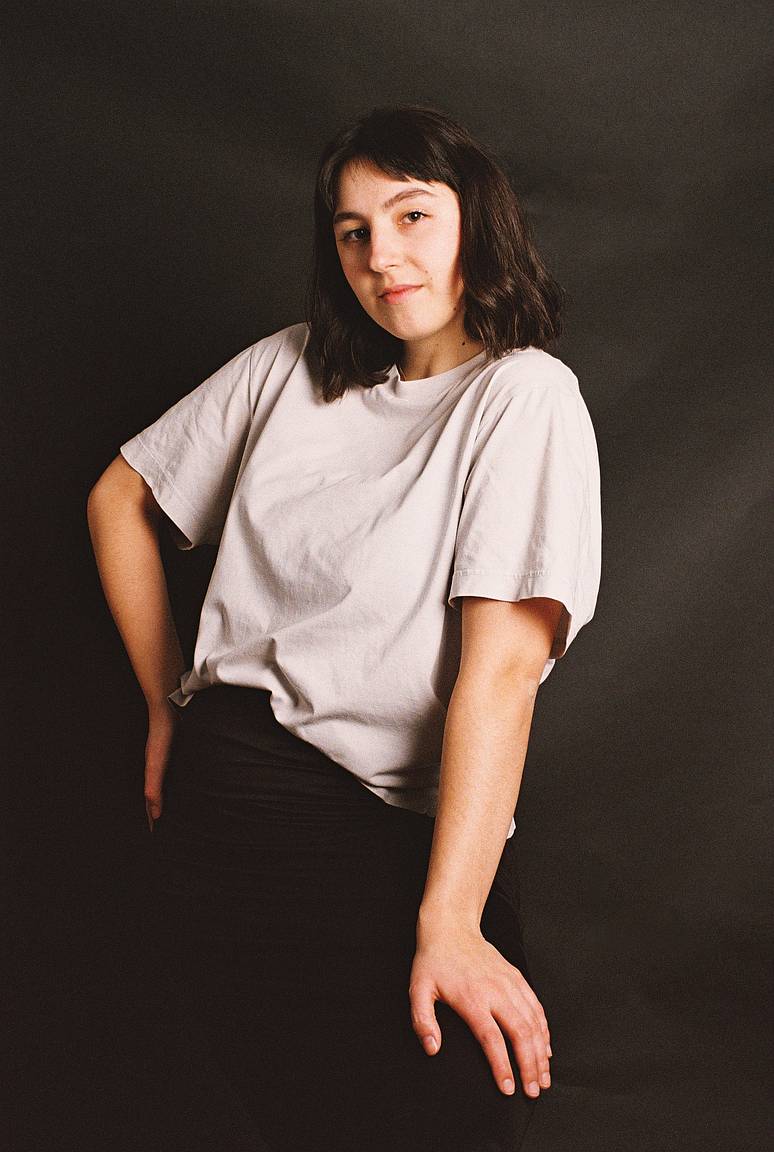
It can also be an alternative way of shooting. After all the settings have been fixed, you can have a more natural conversation during your shooting. This can help break the ice and achieve more natural poses.
Studio and Light Design
Once we are ready to go, we can focus on our studio space. We want to have everything ready to set up our light design – flash, reflector, backdrops, clips, and so on.
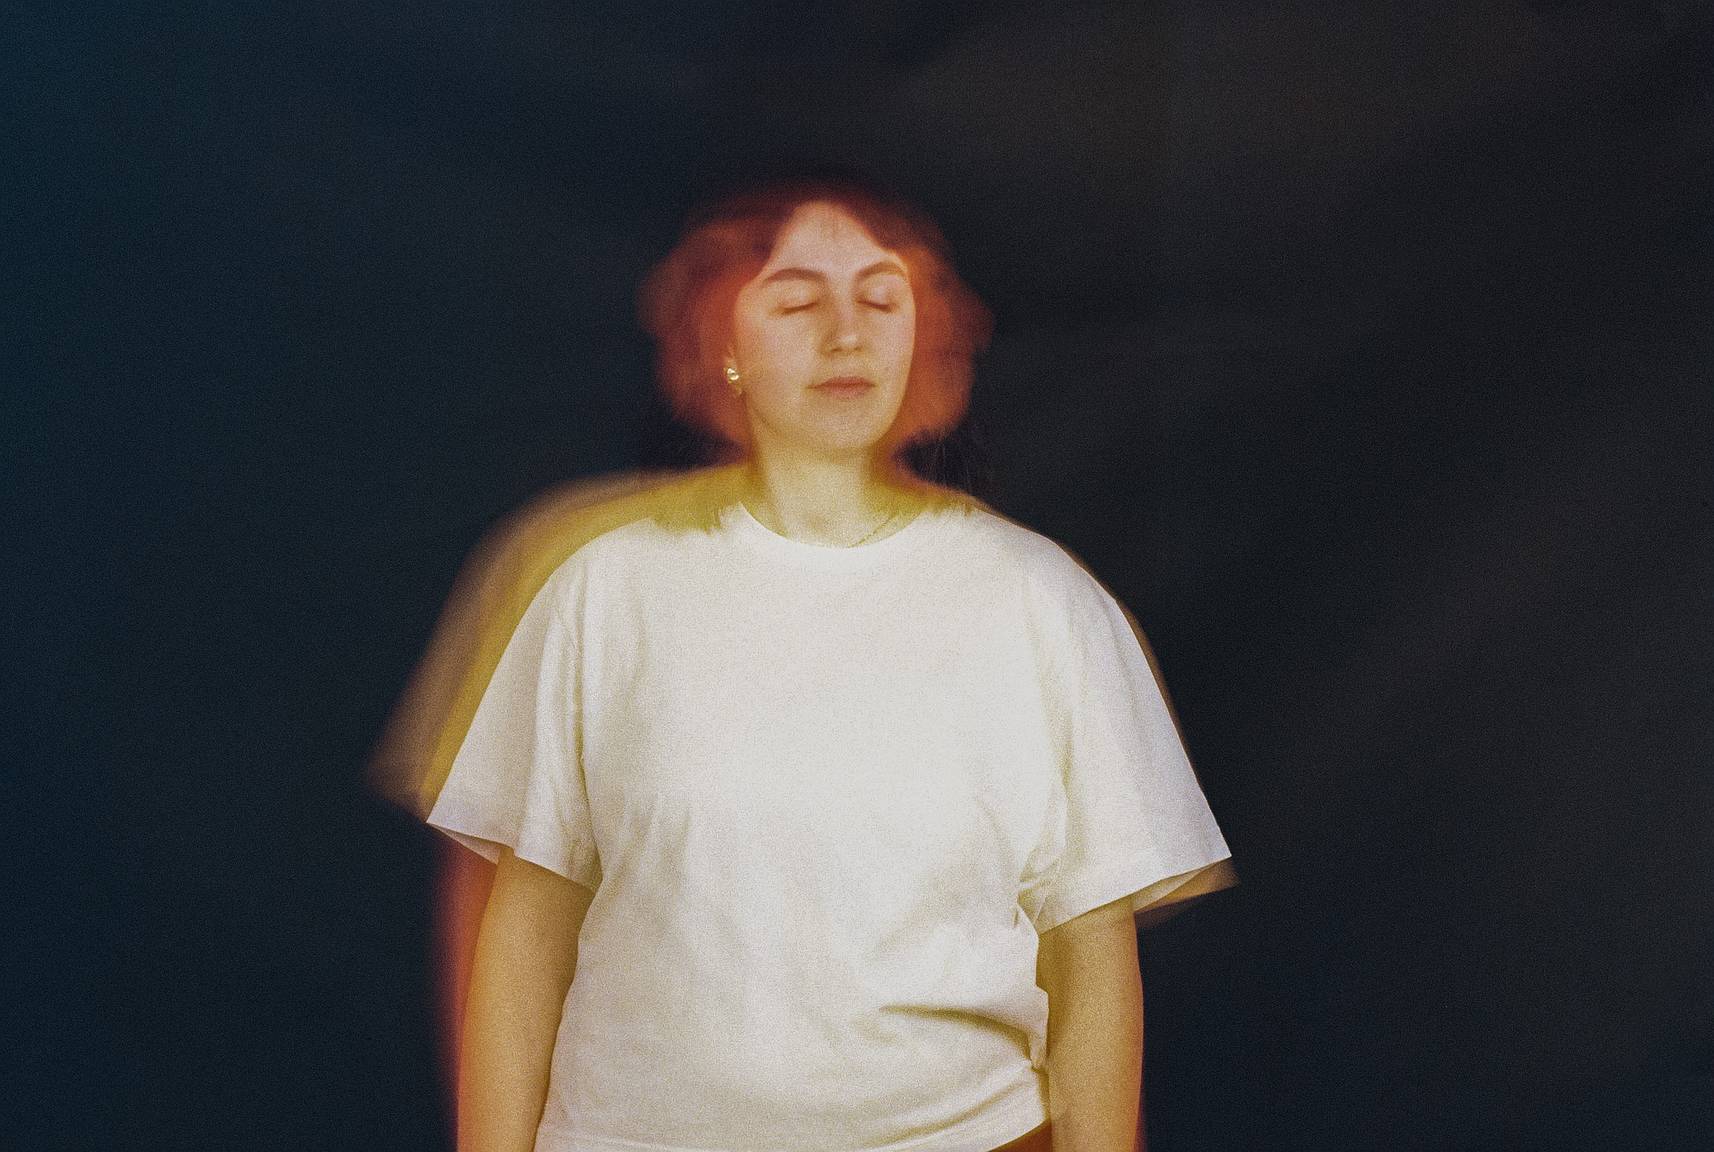
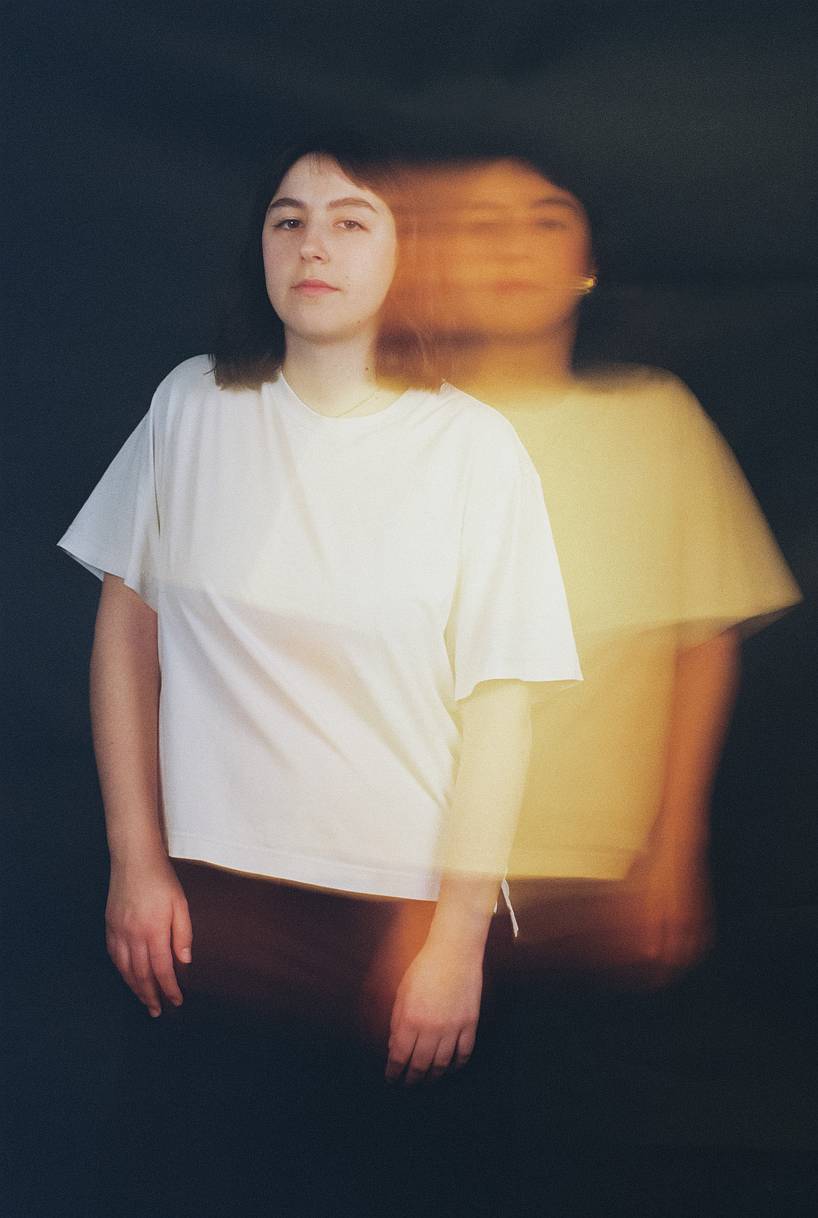
With strobe lights and flashes, we can control the light power, starting from 2.5 up to 6. This is the moment to test the intensity to get a good exposure. After your light is positioned, and your model is in place, meter your light.
A practical way to meter your light is with a digital camera. In the past, photographers would use Polaroids. Nowadays, there are numerous ways check. One way is to use an external light meter if you have one. The other most common way is, as mentioned, to use a digital camera.
To do so you should alter the camera's settings to match those of your analogue camera. Start from the variables that are fixed: ISO and shutter speed. Now, check your aperture and see what the light reading is.
After your light is in place and your model is in position, connect your camera to the flash via a flash sync cord or with a wireless flash trigger. You can usually find the connecting spot next to the lens.
The cable will synchronize the shutter speed to the flash and fire when you press the shutter. If you have a wireless flash trigger insert it at the top of the viewfinder at the flash entrance. However, not all the film cameras are compatible with modern triggers, so check each camera individually. Now you are ready to shoot.
All the preparation work should be done before your model shows up. This is a time consuming process, and you will want to be ready to shoot as soon as the model arrives.
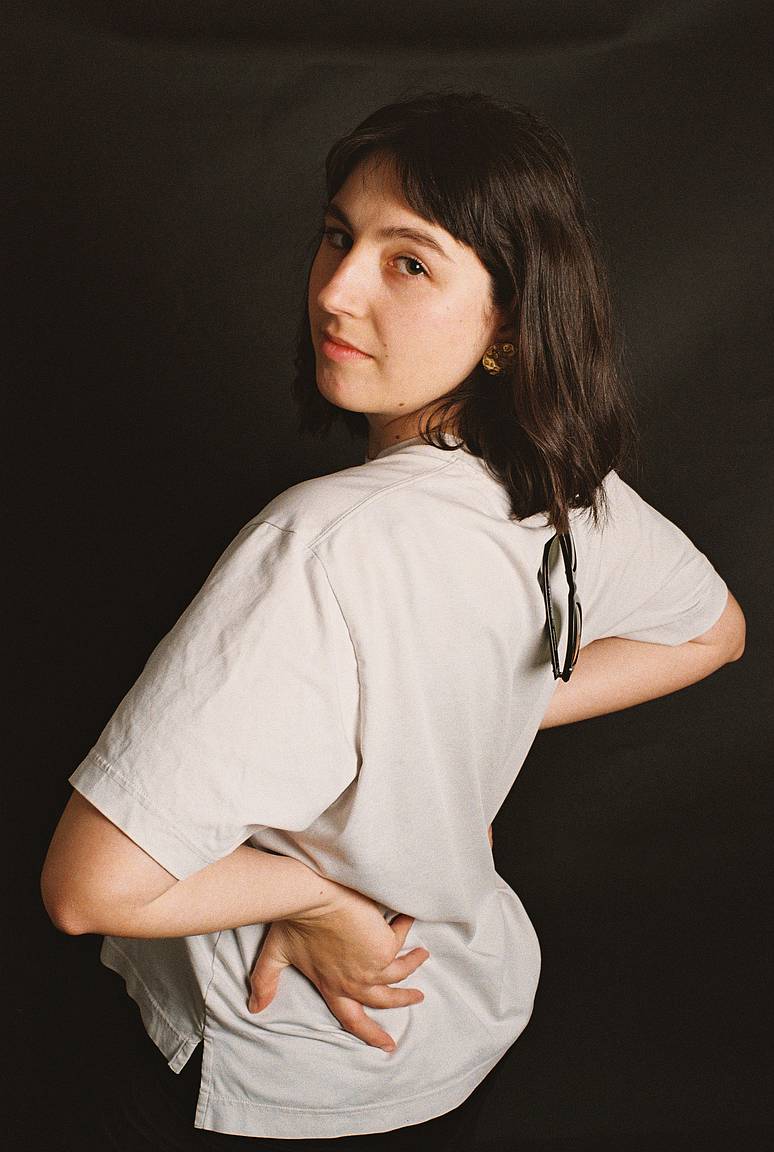
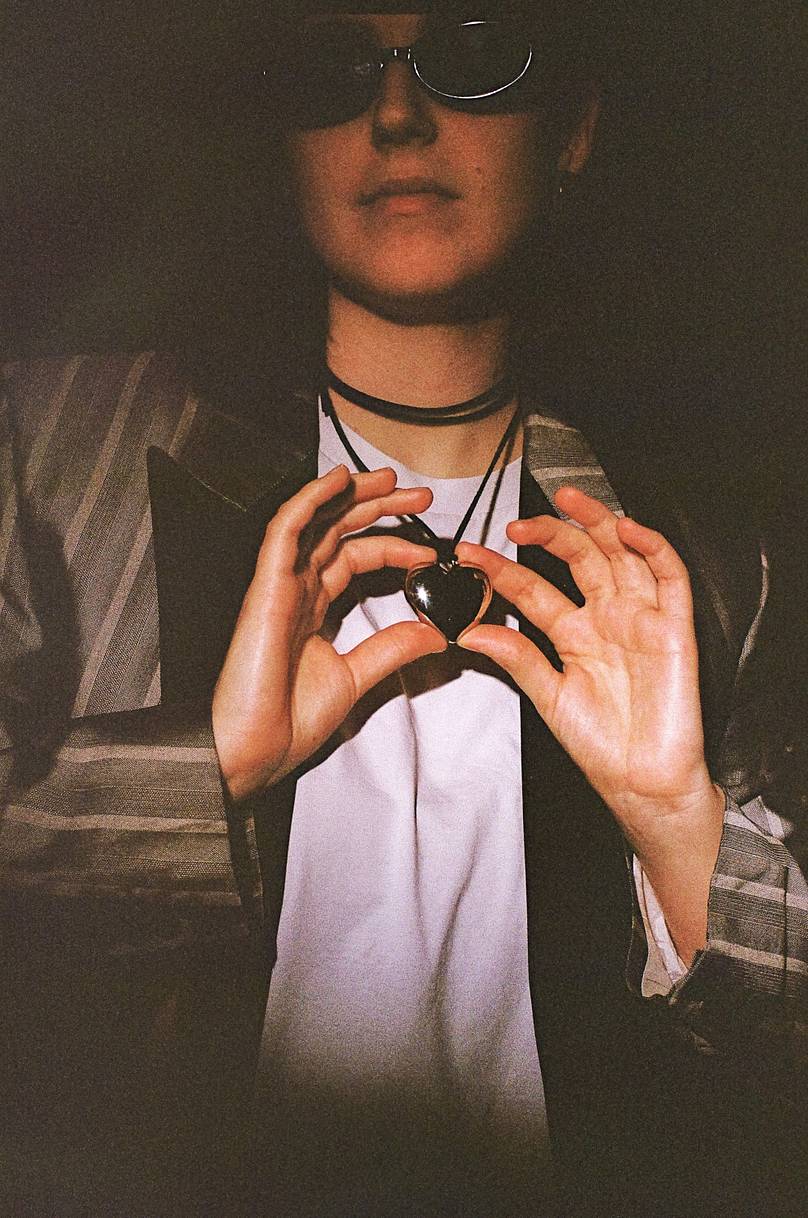
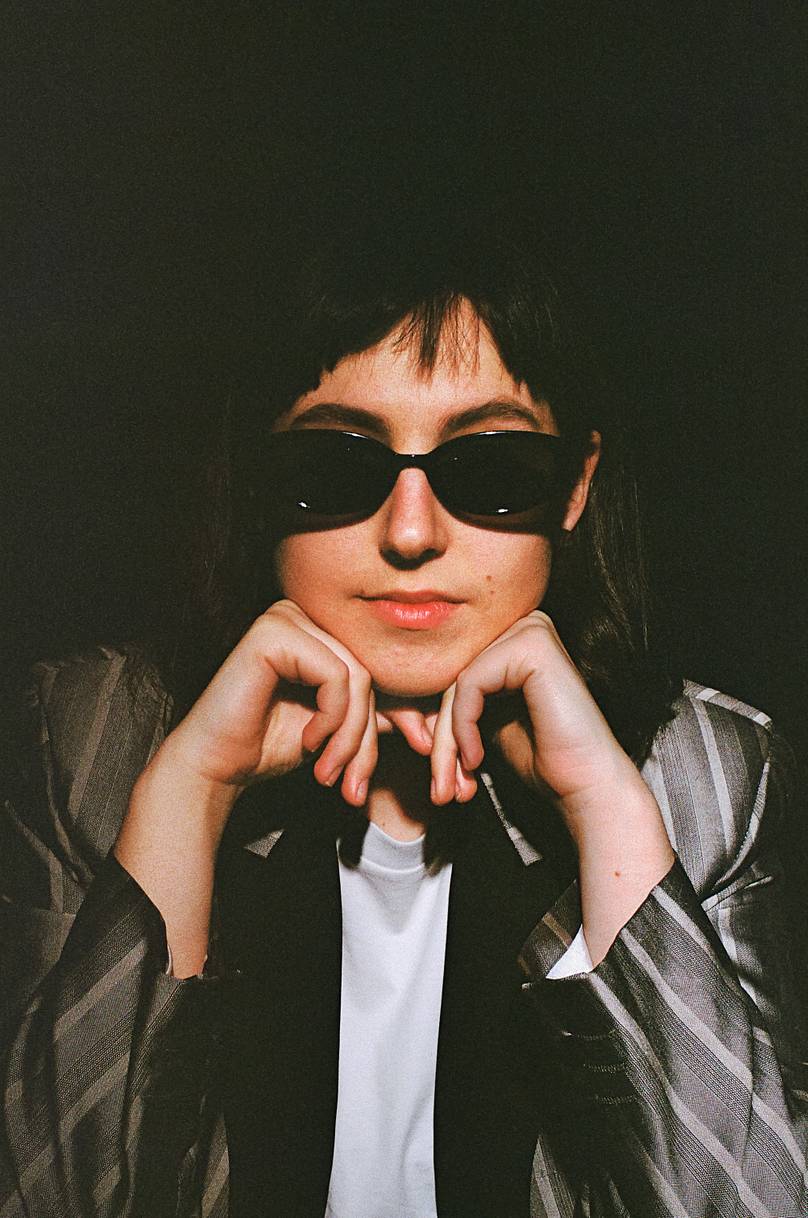
Study your light, and have three to four ideas in your mind. Prepare the steps to obtain your photo and leave only minor adjustments until the last minute to fine tune the overall look.
Carefully preparing will give you time and space to focus on your photos without worrying about the lighting, flashes, accessories, etc. You will be present in the moment and sure to get the photos you had envisioned just as you wanted.
Have you ever shoot in a studio with an analogue camera? What is your process like? Share your experience in the comments below.
written by eparrino on 2024-07-16 #tutorials #videos #film #studio #editorial #strobes #falshes #studio-portraits


No Comments