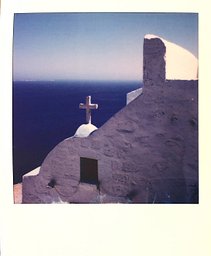
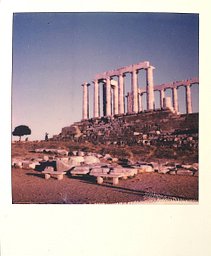
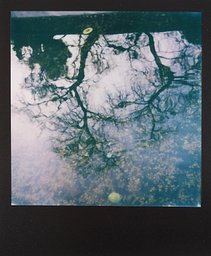
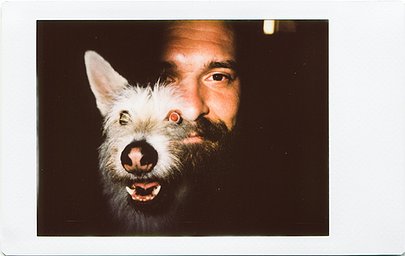
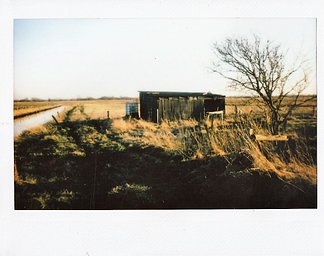
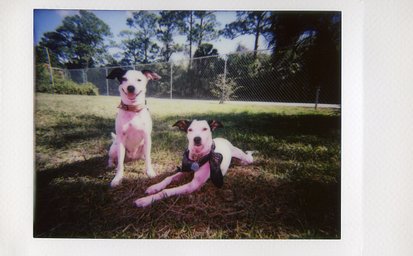
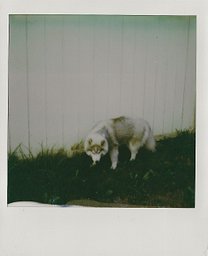
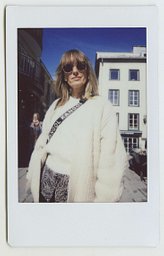
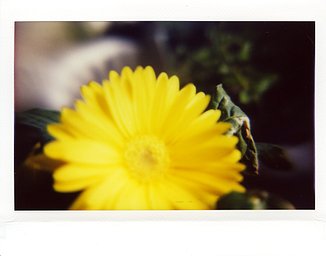
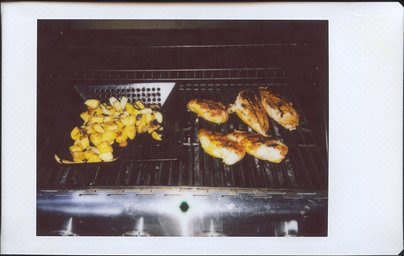
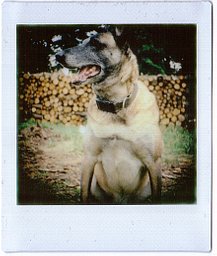
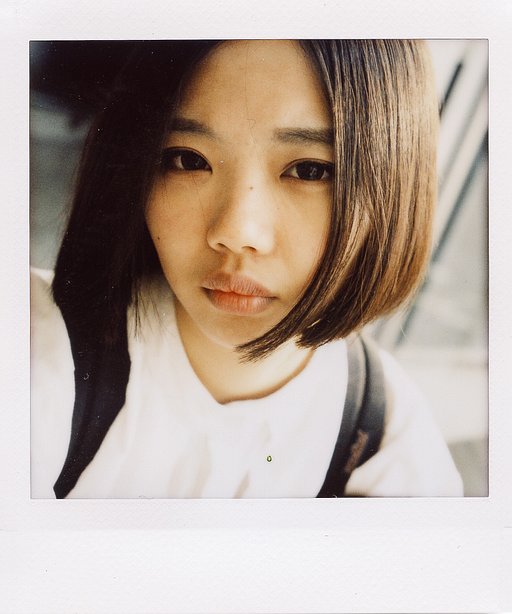
How do I creatively alter my instant photos?
Looking to revamp your old instant photographs or experiment with your fresh ones? Here are five different techniques to try out!
Draw or Paint Over the Image
A fun and quick way to enhance your instant photographs is by drawing over them. It’s simple and easy to do regardless of skill. You can do this on your fresh instants, or better yet on your old ones to reinvent them. Using colorful permanent markers, let your imagination run wild and draw whatever you wish – from simple shapes and patterns to fantastical figures and creatures. Don’t feel restricted by your pens; you can also use glittered and metallic pens for more textures or even use paint with brushes or sponges.


Add Stickers
If you need to work on your confidence in defacing your prints, you can take baby steps by using stickers instead. This still requires the courage to alter your photographs and add to them, but you have the comfort of knowing that the changes are impermanent. Who knows, stylizing instants with stickers could also lead to a journey of scrapbooking or creating art journals!


Try Embroidery
Get crafty by adding embroidery to your instants! Aside from your instant photographs, you need threads of your preferred colors, needles, and a cork board or something similar that you can put beneath your image as you’re puncturing it.
Start by taking your photo then thinking about what you want to do with it. Think simple or go crazy – play outside the frame, work with multiple transparencies, or try it with a single layer – it’s completely up to you. With the board underneath the instant, get your needle and start puncturing holes to guide you later on. Once finished, take your needle with thread and start going through the holes to create your desired design!


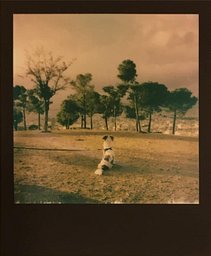
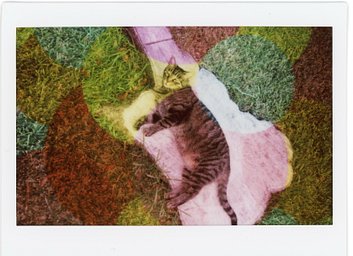
Use Chemicals
Soaking your instants in liquids like bleach will lead to a chemical reaction that changes your image’s color and overall look. For this, prepare a cleaning product containing bleach, gloves, water, a Stanley knife, and a workspace with good ventilation. With your gloves on, start by lightly cutting the back of the print with the Stanley knife, then peel off the protective layer. Proceed by applying bleach on the emulsion. You can spray it directly or be more precise with a dropper tool – the way you apply the bleach will result in varying patterns! Once you have achieved your desired effect, wash the emulsion well with water. The bleach will keep acting unless you have washed it off thoroughly. For a visual guide, you can watch this video. Just enjoy the process and look forward to creatively abstract outcomes!


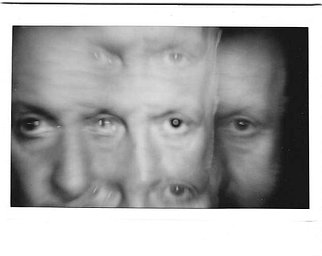
Put it in the Microwave
One great tool for altering instant photos can be found in your kitchen. Take a photo and while it is still developing, put it in the microwave and heat it for a maximum of six seconds. When trying this out, remember that it’s normal to see sparks while the image is inside the microwave. Microwaving your instant photographs can create burned edges, abstract spots, and even vintage-like colors.


Anything missing?
Can’t find an answer to your question? Or do you have some useful advice to add to one of our courses? We want to build the world’s largest analogue learning space, so please send any further requests or information to school@lomography.com and we’ll take a look!
Photos From Other Students

Do you want to see your photos featured here for all Lomo School students to see? If you think your photos fit this article just tag them with “instant”. We take a look at all these photos and select our favorites. See all photos tagged with “instant” here.
More Courses
-
How do I clean my instant camera rollers?
Gently wipe the rollers with a soft cloth, tissue paper or cotton swab saturated with alcohol or ionized water. Once done with that area, press the shutter to make the rollers move, then so the same on the newly accessible parts. Repeat the process until there are is no visible dirt or black streaks left.
-
How do I create a transparency with instant photos?
Create transparencies from your Instax photos to elevate their uniqueness! Just follow these five easy steps.
-
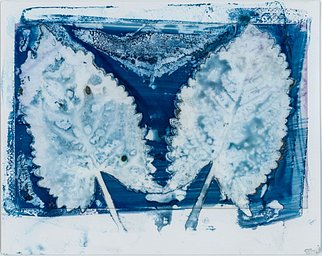
How do I make an instant film emulsion lift?
Experiment by doing emulsion lifts on your Polaroid prints! Here are the materials that you need and the five easy steps to follow.
-
What happens if I take out the instax film canister from my camera with film still inside?
Removing the instax film canister from your camera when you still have unexposed film inside will likely result in at least one ruined and unusable instax. Any instax film beneath the first one will probably be fine, although they could also contain light leaks.
-
How should I store my instant photos?
When it comes to storing instant photos a lot people simply throw them in an old shoebox or desk drawer. However, if you want to keep your instant photos in good condition for many years to come you can also take some additional measures.
-
How can I scan my instant photos?
There are a number of ways to create digital scans from your instant photos. Let’s take a look at the options available.
-
What are some features of Lomography Instant cameras?
The Lomography range of instant cameras have a ton of fun features including multiple exposure mode, bulb mode, remote control shutter release, and glass lenses.
-
What are the different instant film formats?
All Lomography cameras use Fujifilm Instax film. These come in three different formats – Instax Mini Film, Instax Square Film and Instax Wide Film.
-
What is the LomoGraflok 4×5 Instant back?
The LomoGraflok is the world’s first Instant Back for 4×5 cameras. It attaches to 4×5 cameras using the common graflok system, which most 4×5 cameras have, and so allows you to shoot Fujifilm Instax Wide film using large format cameras.